
Last updated November 20, 2026
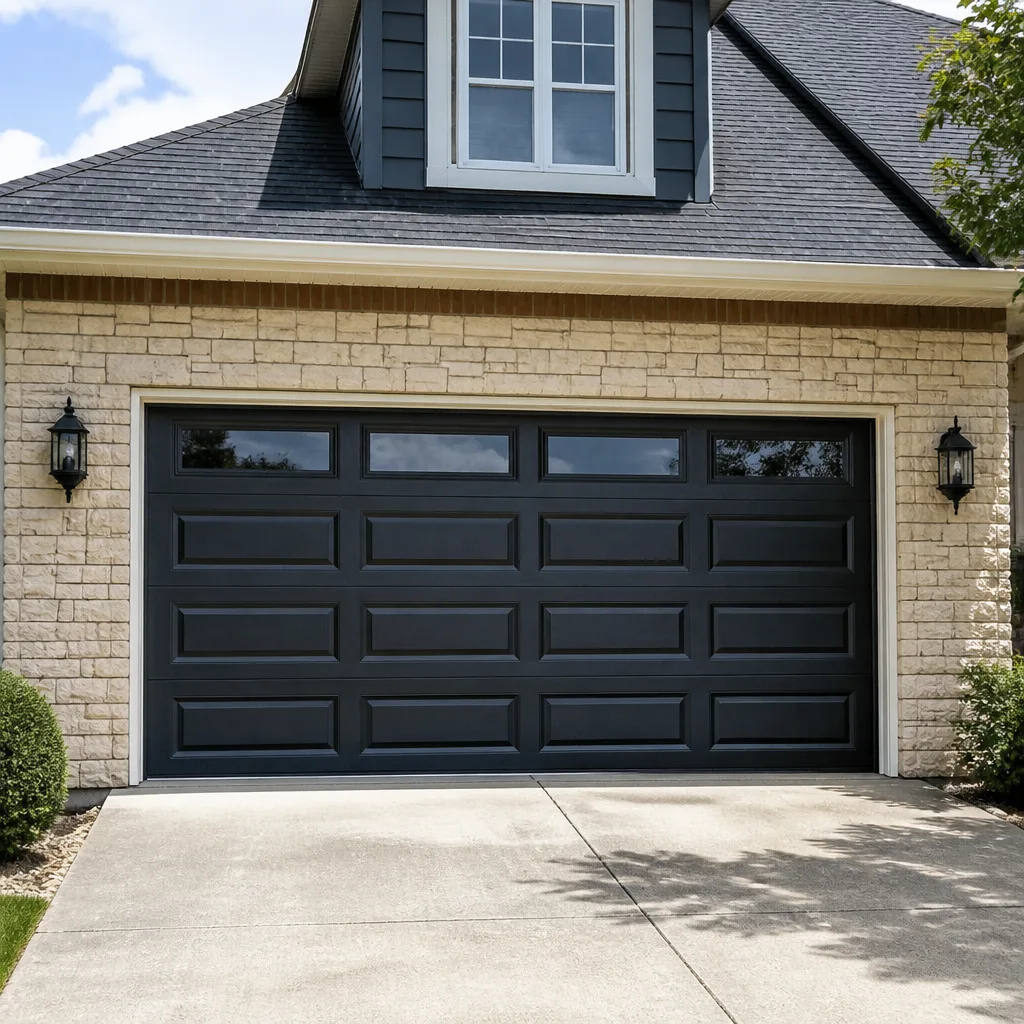 Raised-panel steel
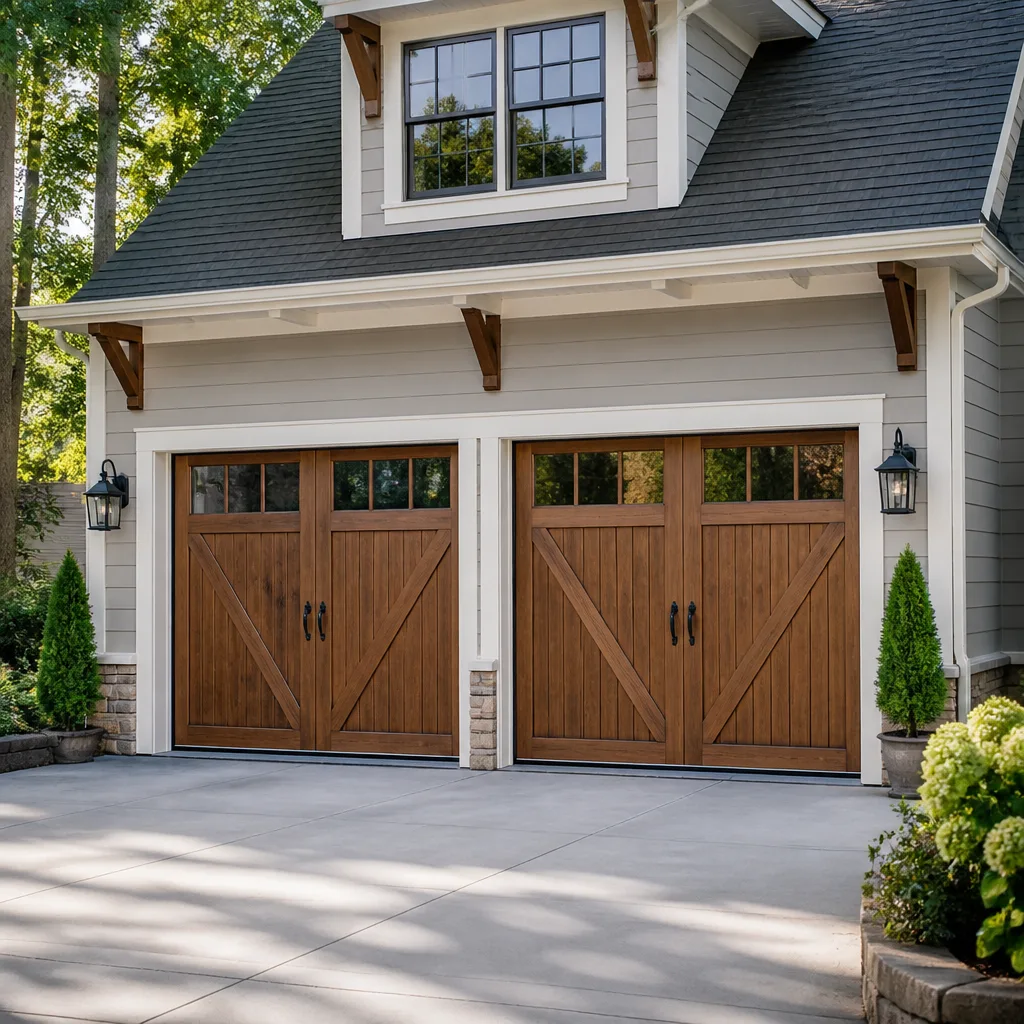 Carriage house
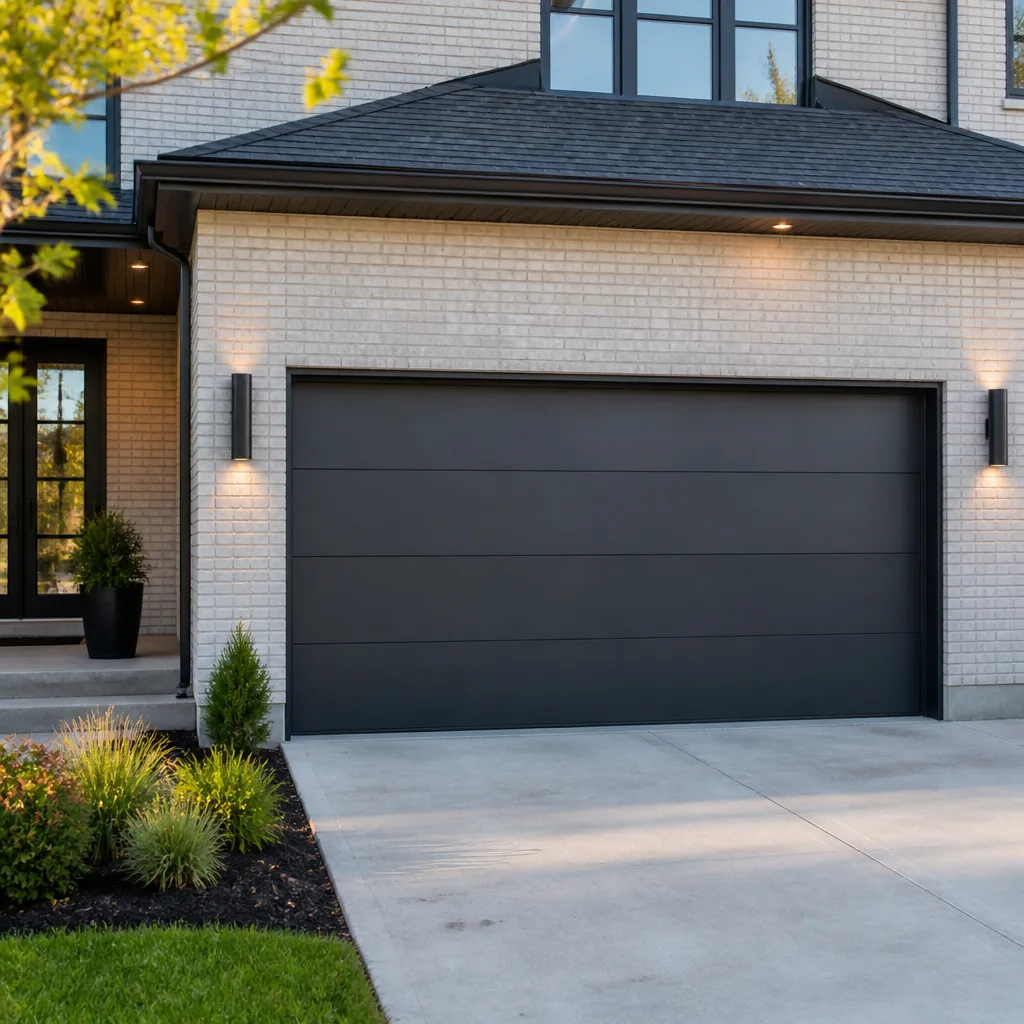 Modern flush
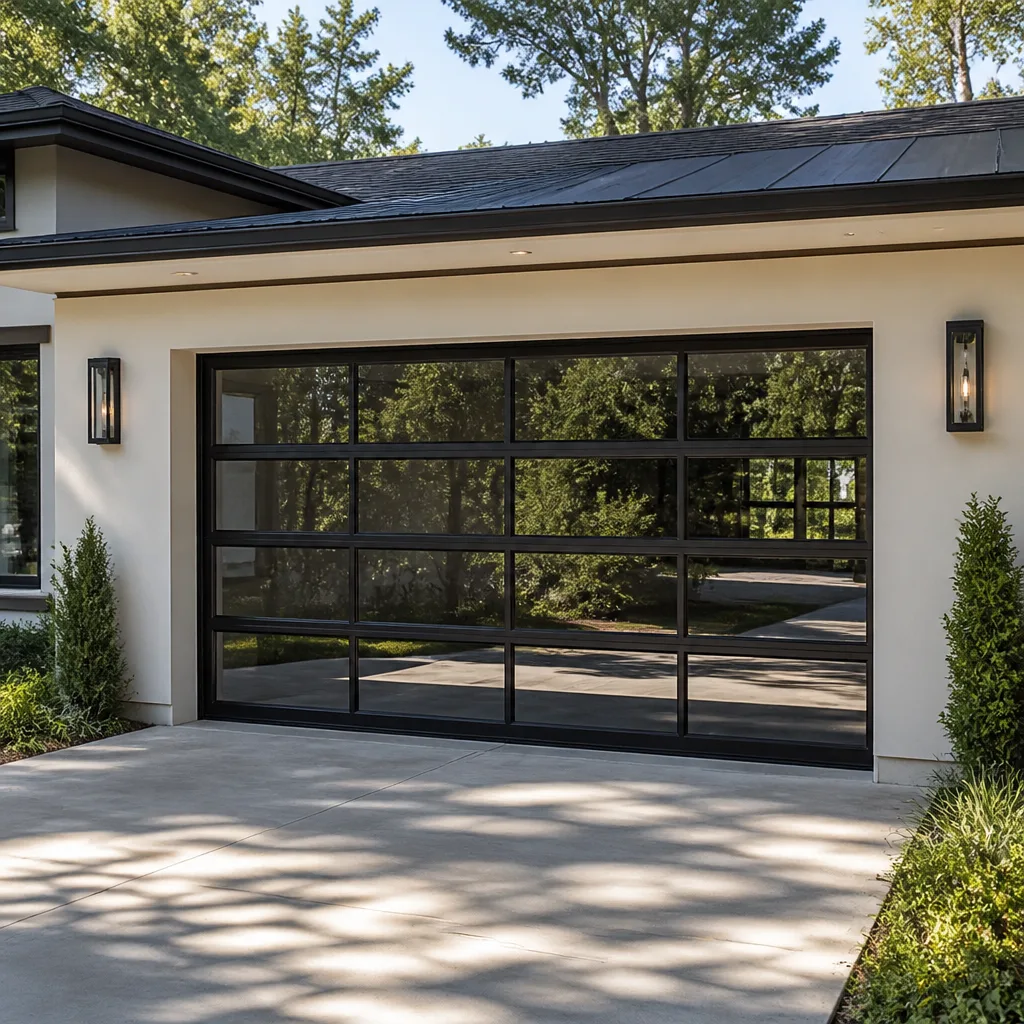 Full-view glass
 LiftMaster openers
 Chamberlain openers
Full 25-point door and opener safety check with every visit - springs, cables, rollers, tracks, and your LiftMaster or Chamberlain opener included
You get a price before we start. It does not change when the pro arrives.
Get your free estimateGarage Door Repair Maintenance Checklist for Paterson Homeowners
Most homeowners who call for emergency spring replacement had a door that gave three separate warnings in the prior 90 days. None of those warnings appeared on the generic checklist they’d downloaded. That’s because generic checklists treat every garage door the same, and doors in Paterson aren’t the same. A 1920s two-car detached garage off East 33rd Street and a newer townhouse near Riverside have different springs, different openers, and different failure points. This guide is structured by those variables, so you check what actually matters for your setup. We’ll cover how to identify your spring type, which lubrication points get skipped, how to test auto-reverse force, and which tasks are genuinely owner-safe.
Quick Answer
A useful garage door maintenance checklist for Paterson depends on three things: your spring configuration (torsion or extension), your opener brand and age, and how much the door is exposed to humidity and temperature swings. Check springs, cables, rollers, hinges, and weatherstripping monthly by eye, lubricate moving metal parts twice a year, and test the auto-reverse and photo-eye safety features every month. Anything involving springs or cables under tension is a professional job, not a homeowner task.
Styles & brands we work with
- Raised-panel steel
- Carriage house
- Modern flush
- Full-view glass
- LiftMaster openers
- Chamberlain openers
Table of Contents
- Step 1: Identify Your Spring Type Before Anything Else
- Step 2: The Monthly Visual Walk-Around
- Step 3: Lubrication Points Most Guides Skip
- Step 4: Testing Auto-Reverse and Photo-Eyes
- Step 5: Reading Weatherstripping Failure
- Step 6: What Voids a Warranty and What Doesn’t
- Step 7: Seasonal Rhythm for Paterson’s Climate
- Step 8: What a Technician Checks That You Can’t
Step 1: Identify Your Spring Type Before Anything Else
Spring type determines the entire checklist. Torsion springs sit horizontally on a shaft above the door. Extension springs run along the horizontal tracks on each side. You can tell them apart by looking up from inside the garage with the door closed. If you see a metal bar across the top with springs coiled around it, you have torsion. If you see springs stretched alongside the tracks with pulleys and cables, you have extension.
Why does this matter for maintenance? Because the inspection steps differ completely.
- Torsion springs: You’re looking for a visible gap in the coil, a winding cone that has slipped, or rust that has begun to pit the wire. A torsion spring that has broken usually leaves a clean gap about the width of a finger.
- Extension springs: You’re looking for stretch. An extension spring that has lost tension will look longer than it should and may have begun to separate at the end loops. These also need a safety cable running through the center, which many older Paterson garages still lack.
The reason we lead with this is simple. Extension springs on an older door in a pre-war Paterson neighborhood may be decades past their expected cycle life and are a genuine hazard if they snap while someone is standing underneath. Torsion springs on a newer Clopay or Amarr door may still have years left. Knowing which you have tells you how urgently to act on what you find.
What you should not do, under any circumstances, is attempt to adjust, wind, unwind, or remove either type yourself. Springs are the most dangerous part of any garage door system. It’s not a DIY job. If you see a gap, a stretch, or rust, stop and call a technician.
Step 2: The Monthly Visual Walk-Around
This is a five-minute check you can do safely with the door closed and the opener disconnected. It catches most developing problems before they become emergency calls. Here’s the sequence we recommend, in order.
- Look at the springs first. Gap, stretch, or rust means stop. Don’t run the door.
- Check the cables. Look for fraying, kinks, or slack on either side. Cables under tension are not something to touch.
- Inspect rollers and hinges. Worn nylon rollers will look flat or cracked. Steel rollers will show wear on the bearing. Hinges should be tight, not loose or bent.
- Run the door by hand. Disconnect the opener and lift the door halfway. It should move smoothly and stay where you leave it. If it drops or feels heavy, the springs are losing tension or the door is out of balance.
- Look at the panels. Dents, cracks, or separation at the seams are signs of impact or structural fatigue.
- Check the weatherstripping along the bottom and sides. More on this in Step 5.
In Paterson, this walk-around matters more than in drier climates because the humidity works on metal. Rollers seize, hinges rust, and springs corrode faster when the garage sees moisture. We’ve seen doors that ran fine in April start binding by July because nobody lubricated the moving parts. A monthly visual check catches that progression early, before a roller seizes and strips the opener gear.
If you find something that looks wrong, don’t force the door. Call a technician and describe what you saw.
Step 3: Lubrication Points Most Guides Skip
Most generic checklists say “lubricate the door” and leave it there. That’s not useful. The specific points matter, and the ones most often skipped are the ones that fail first in New Jersey humidity.
Here’s what to lubricate, with what, and how often.
- Roller bearings and stems: Use a silicone-based or lithium grease spray. Not WD-40, which is a solvent, not a lubricant. Every six months.
- Hinge pivots: A drop of light oil at each hinge point. Twice a year.
- Spring coils (torsion only): A light spray along the coil helps reduce friction and slows rust. Do this without touching the spring. Twice a year.
- Track curves and vertical track: A very light film of silicone spray. Too much attracts dirt. Once a year.
- Opener rail and chain (if chain-drive): A small amount of white lithium grease on the chain. Once a year. Belt-drive openers don’t need this.
- Bottom bracket and cable contact points: Light oil. Twice a year. Do not loosen or remove the bracket.
The points most guides omit are the spring coils, the opener chain, and the bottom bracket. Those are also the ones that fail fastest in a humid climate. A seized roller doesn’t just squeak. It drags, which overloads the opener, which shortens the life of the gear and the motor. We’ve replaced plenty of opener gears on Craftsman and LiftMaster units where the real culprit was a dry roller nobody thought to lubricate.
What not to lubricate: the photo-eye lenses, the safety reverse sensors, the rubber seal at the bottom of the door, or the inside of the tracks where the rollers ride. Grease in the track collects grit and causes binding.
If your door squeaks after lubrication, the noise is probably coming from a worn roller or a hinge that needs replacing, not more grease. That’s a good time to have a technician look at it. Our garage door repair team handles that kind of diagnosis regularly.
Step 4: Testing Auto-Reverse and Photo-Eyes
Auto-reverse is the safety system that stops and reverses the door when it meets resistance. Photo-eyes are the infrared sensors mounted near the floor that detect an obstruction. Both should be tested monthly. The test method varies by opener brand, and knowing your brand saves time.
The five openers we see most often in Paterson homes are LiftMaster, Chamberlain, Genie, Craftsman, and Wayne Dalton (which uses a branded version of a LiftMaster mechanism in many installs). Here’s how force calibration testing generally works across all of them.
- Place a 2×4 flat on the floor under the door. Close the door using the wall control. It should reverse within a couple of seconds of contacting the board.
- If it doesn’t reverse, or if it strains before reversing, the force setting is too high. On most LiftMaster and Chamberlain units, the force adjustment is a small screw on the back or side of the motor housing. On Genie and Craftsman, it’s usually a dial or a screw under a light cover.
- Test the photo-eyes. With the door open, wave an object across the beam between the sensors. The door should not close, or should reverse immediately if already closing. The indicator lights on both sensors should be solid, not blinking.
- Check alignment. If one photo-eye light is blinking, the beam is misaligned or blocked. Adjust the bracket, not the sensor itself.
Here’s what most guides leave out: force calibration is not something to “set and forget.” It drifts over time, especially on older units. If you’ve adjusted the force once and the door still reverses on the board but strains on the way down, the real problem is likely a spring losing tension or a roller dragging. Adjusting force to compensate makes the door less safe, not more.
We can’t emphasize this enough: if the door doesn’t reverse on the 2×4 test, stop using the opener until a technician checks it. That’s a safety failure, not a convenience issue. Our garage door opener repair team can diagnose force and sensor problems on any of the eight major brands we work on.
If you’ve tested the safety reverse and it’s not behaving, that’s a call-us-now situation. Call (866) 937-7714. We answer 24/7. Fast dispatch from 7am to 7pm, Sunday through Friday.
Step 5: Reading Weatherstripping Failure
Weatherstripping failure is one of the most common problems we see in Paterson and one of the least noticed by homeowners until the garage feels cold, damp, or drafty. The visual signs are subtle if you don’t know what to look for.
Here’s what to check, and what each sign means.
- Flattened bottom seal: The rubber flap along the bottom of the door should have visible thickness. If it’s pressed flat against the floor and stays that way, it’s no longer sealing. You’ll feel a draft at the base of the door on a cold day.
- Gaps at the corners: Look at where the bottom seal meets the side jambs. A visible light gap means air and moisture are getting in. This is the most common failure point on older doors in Paterson’s pre-war housing stock.
- Cracked or peeling side seals: The vertical weatherstripping along the jambs should be pliable. If it’s cracked, stiff, or peeling away from the frame, it’s failed.
- Daylight visible around the closed door: Stand inside with the door closed and the lights off. Any light coming through means air is coming through too.
- Water staining on the floor inside the door: This means the bottom seal is failing at the ground contact point, letting rain in during storms.
Why does this matter beyond comfort? A failed seal lets humid air into the garage, which accelerates corrosion on springs, cables, and hinges. It also lets heat out, which raises energy costs for any room adjacent to the garage. And in Paterson, where many garages are attached or under the main living space, a failed seal can mean moisture problems in the house itself.
Replacing weatherstripping is one of the genuinely owner-safe maintenance tasks. You can buy replacement seals at most hardware stores and fit them without special tools. What you should not do is remove the bottom bracket or the track to fit a new seal. That’s a spring-tension job in disguise.
Step 6: What Voids a Warranty and What Doesn’t
Warranty terms vary by manufacturer, but the general split is consistent across the brands we work on. Here’s the rough line between owner-safe and warranty-risky tasks.
Genuinely owner-safe:
- Lubricating rollers, hinges, and tracks
- Testing auto-reverse and photo-eyes
- Replacing weatherstripping (bottom seal and side seals)
- Cleaning photo-eye lenses
- Replacing opener remote batteries
- Tightening visible bolts on hinges (not spring hardware)
Warranty-risky if done incorrectly:
- Adjusting spring tension (voids spring warranty on most brands and is dangerous)
- Replacing springs yourself (voids warranty on most torsion and extension systems)
- Adjusting force settings beyond the manufacturer’s recommendation (can void opener warranty if it causes motor failure)
- Replacing the logic board or motor on the opener (voids warranty on most LiftMaster, Chamberlain, Genie, and Craftsman units)
- Removing or replacing cables (voids warranty and is dangerous)
The rule of thumb: if it involves a spring, a cable, or the inside of the opener housing, it’s a warranty risk. Those tasks belong to a technician. The rest you can do yourself if you’re comfortable with basic tools.
One more note. Many warranties require that service be performed by a qualified technician, not just that the part not be touched. If you’re not sure whether a task affects your warranty, ask before you do it. It’s a cheaper conversation than a denied claim.
If you’d rather have a technician handle the warranty-sensitive tasks, our garage door spring repair team can handle the spring side, and we’ll tell you honestly whether a repair or replacement makes more sense.
Step 7: Seasonal Rhythm for Paterson’s Climate
A checklist that ignores the calendar misses half the point. Paterson’s climate brings hot, humid summers and cold winters with real freeze-thaw cycles. That rhythm should shape when you do which checks.
Spring (March to May): Post-winter inspection. Check for rust on springs, cables, and hinges. Look at the bottom seal for damage from snow and ice. Test the auto-reverse. This is the season when we get the most calls about doors that stopped working over the winter. Paterson Garage Door Repair handles these regularly.
Summer (June to August): Humidity season. This is when dry rollers seize, hinges rust, and springs corrode. Lubricate everything on the Step 3 list. Check weatherstripping for gaps that let humid air in.
Fall (September to November): Pre-winter prep. Test the door balance by hand. Check weatherstripping carefully. Look at the opener’s force setting before cold weather makes the door heavier. Doors that are borderline in September often fail in January.
Winter (December to February): Cold-weather checks. Listen for new noises. Feel for drafts. If the door feels heavier than usual, the springs may be losing tension. Don’t force it.
The single most useful habit for a Paterson homeowner is to do the lubrication checklist twice a year, in spring and fall, right before the seasons that stress the door most. That alone prevents a lot of what we see.
Step 8: What a Technician Checks That You Can’t
Some maintenance tasks require a trained eye and the right tools. Here’s what a technician covers that a homeowner checklist can’t.
- Spring cycle life assessment: A technician can read the wear pattern on a spring and estimate remaining cycle life. You can’t do that by eye.
- Cable tension and wear: Cables stretch and fray in ways that aren’t obvious without hands-on evaluation.
- Door balance and track alignment: A door that’s slightly out of balance puts uneven strain on the opener and springs. A technician can adjust the tracks and balance the door.
- Opener gear and motor wear: Opener internals wear in predictable patterns. We can tell you whether a LiftMaster or Genie unit is near the end of its service life before it fails.
- Force calibration to spec: As covered in Step 4, setting force correctly requires knowing the manufacturer’s spec for your specific model.
- Panel and structural assessment: Cracks, dents, and hinge separation need an experienced eye to judge repair vs. replacement.
Our technicians have up to 11 years of experience, and we work on the brand already in your garage. That means a faster diagnosis because we know the quirks of Clopay panels, Wayne Dalton mechanisms, LiftMaster openers, and the rest of the major systems.
Common Mistakes to Avoid
- Using WD-40 as a lubricant. It’s a solvent, not a lubricant. It removes grease and leaves metal dry. Use silicone spray or lithium grease instead.
- Adjusting spring tension yourself. Springs are under extreme tension and can cause serious injury. This is a professional job, full stop.
- Greasing the tracks. Grease in the tracks collects grit and causes rollers to bind. Use a light silicone film only.
- Skipping the 2×4 auto-reverse test. It’s the single most important safety check on the door, and it takes 30 seconds.
- Ignoring weatherstripping gaps. Small gaps let in humidity that corrodes springs and cables faster. Check for daylight around the closed door.
- Running the door after a spring breaks. If a spring has visibly failed, don’t run the opener. The door is unbalanced and the opener will strain, potentially damaging the motor and creating a fall risk.
- Assuming a noisy door is normal. Noise is a symptom. It usually means a dry roller, a worn hinge, or a spring losing tension. Don’t wire it down and move on.
See the difference
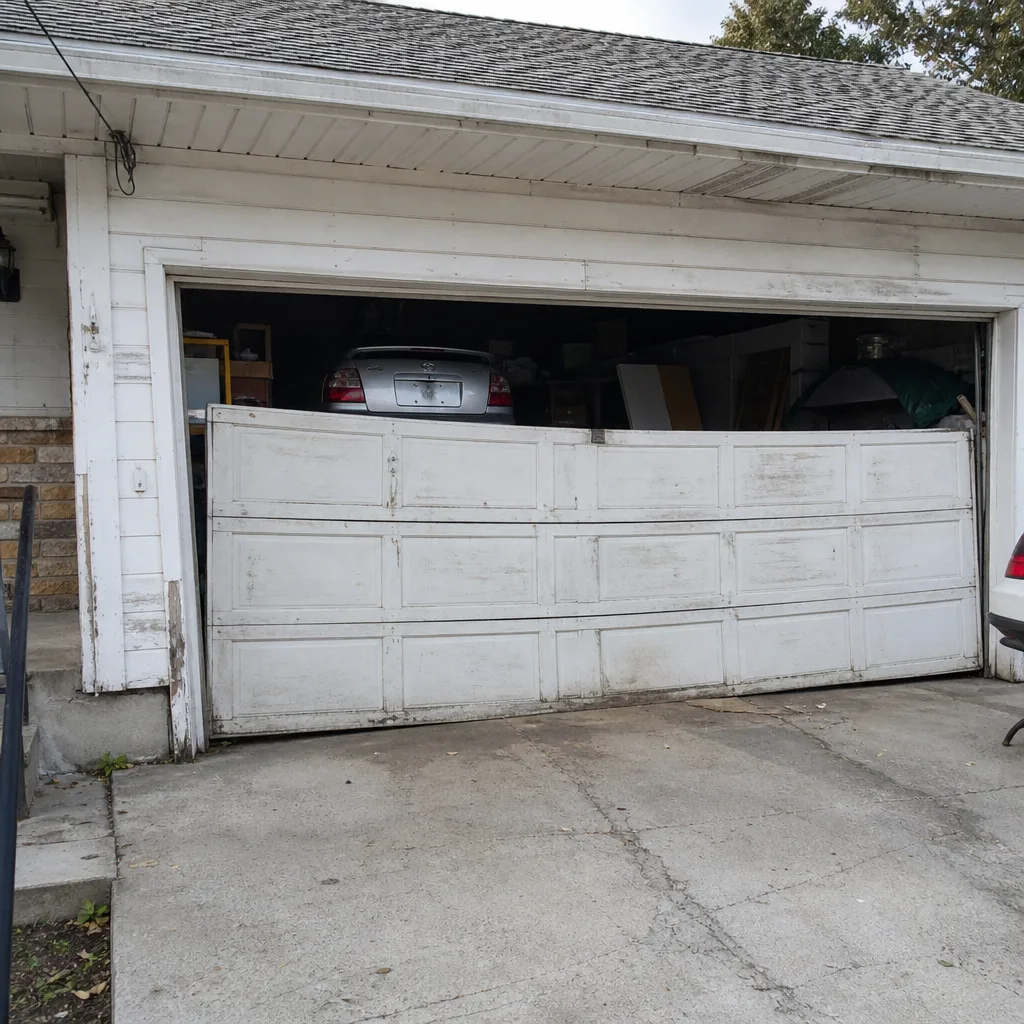 Before
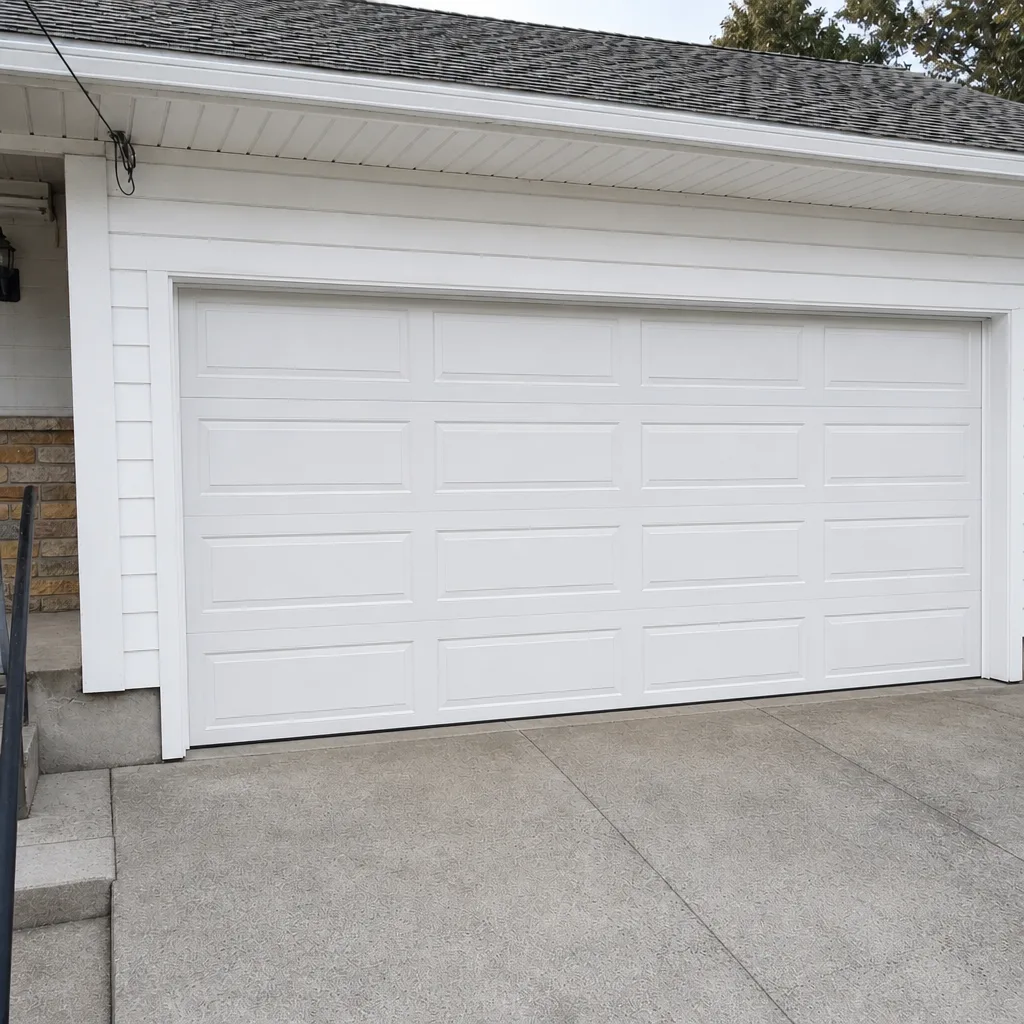 After
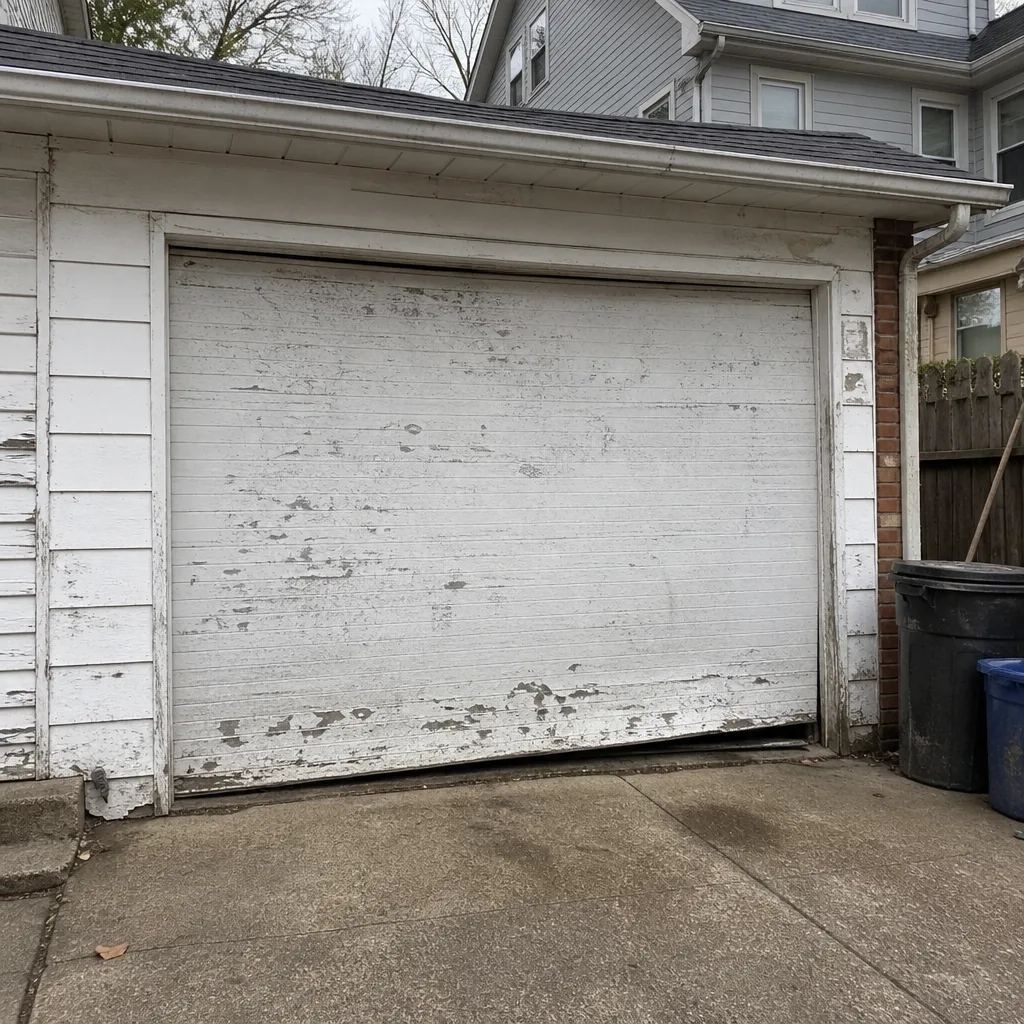 Before
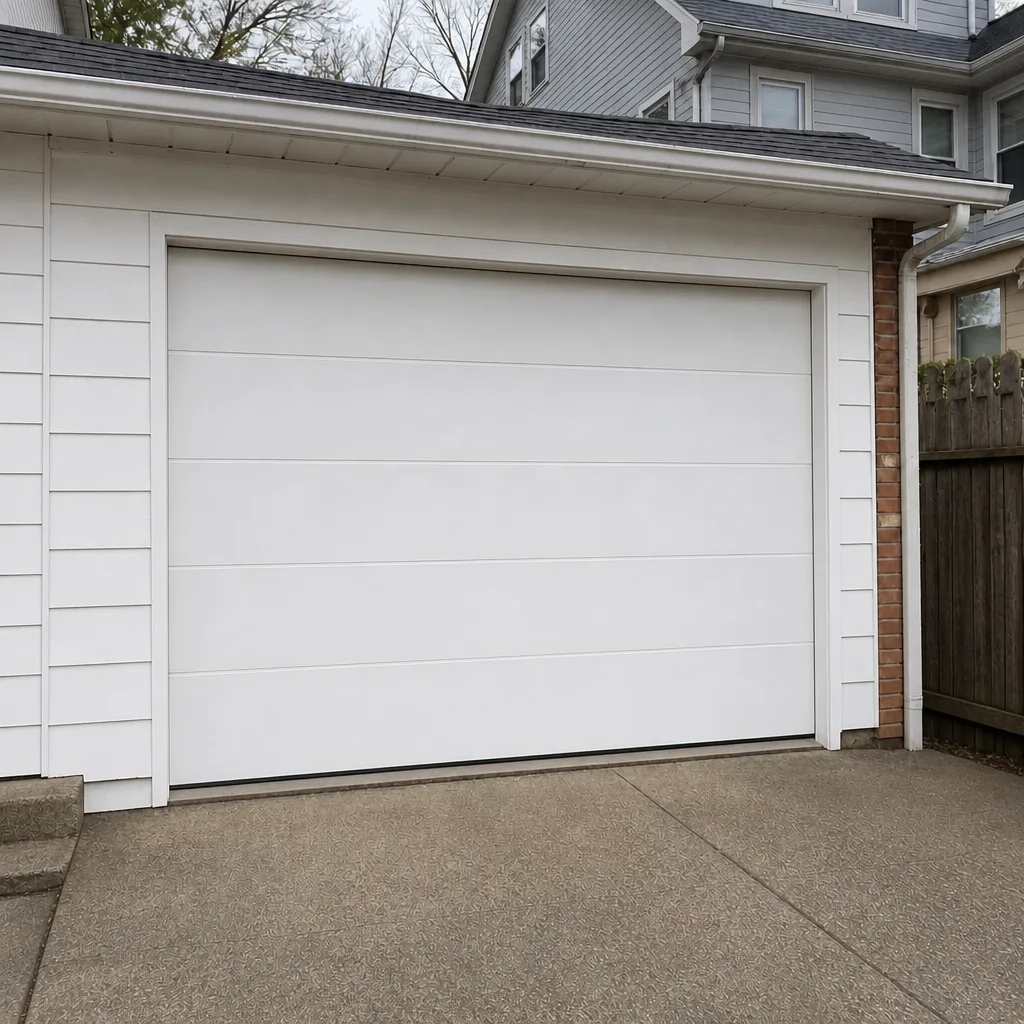 After
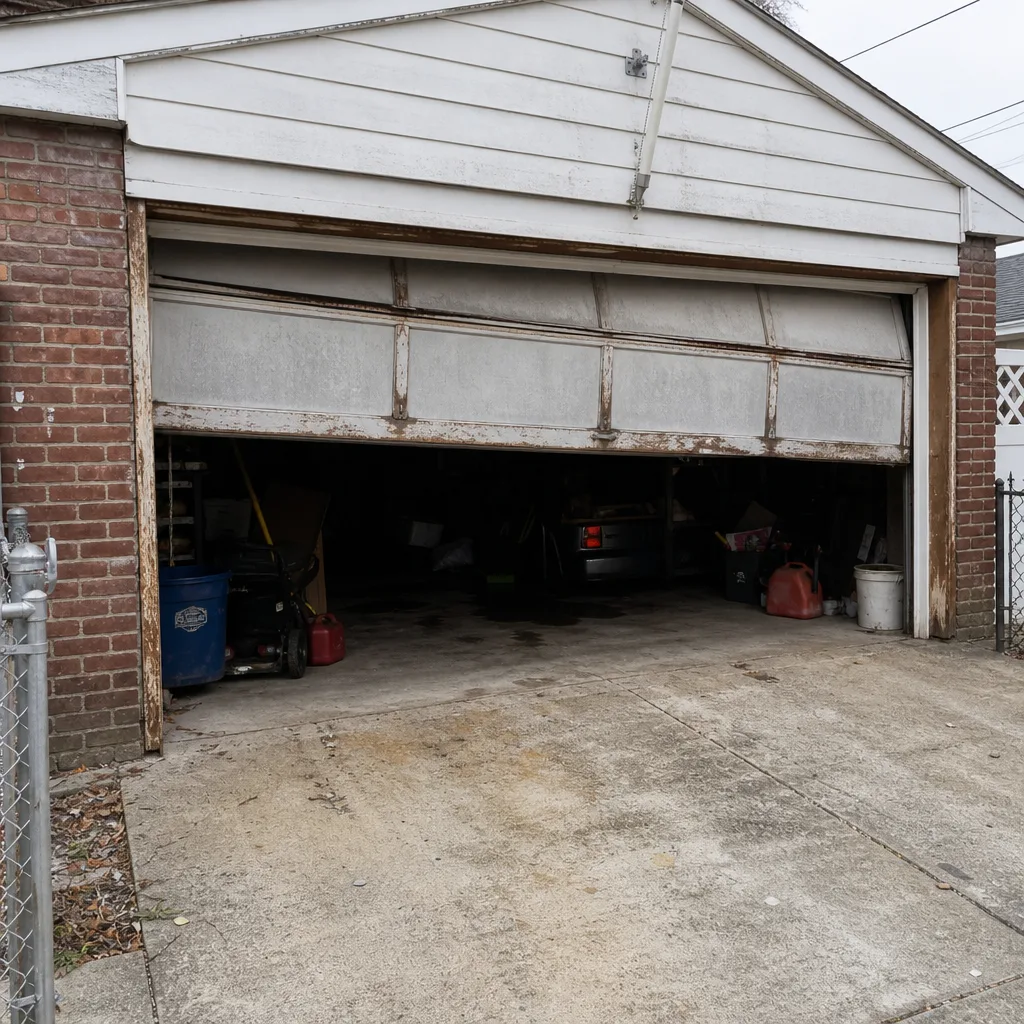 Before
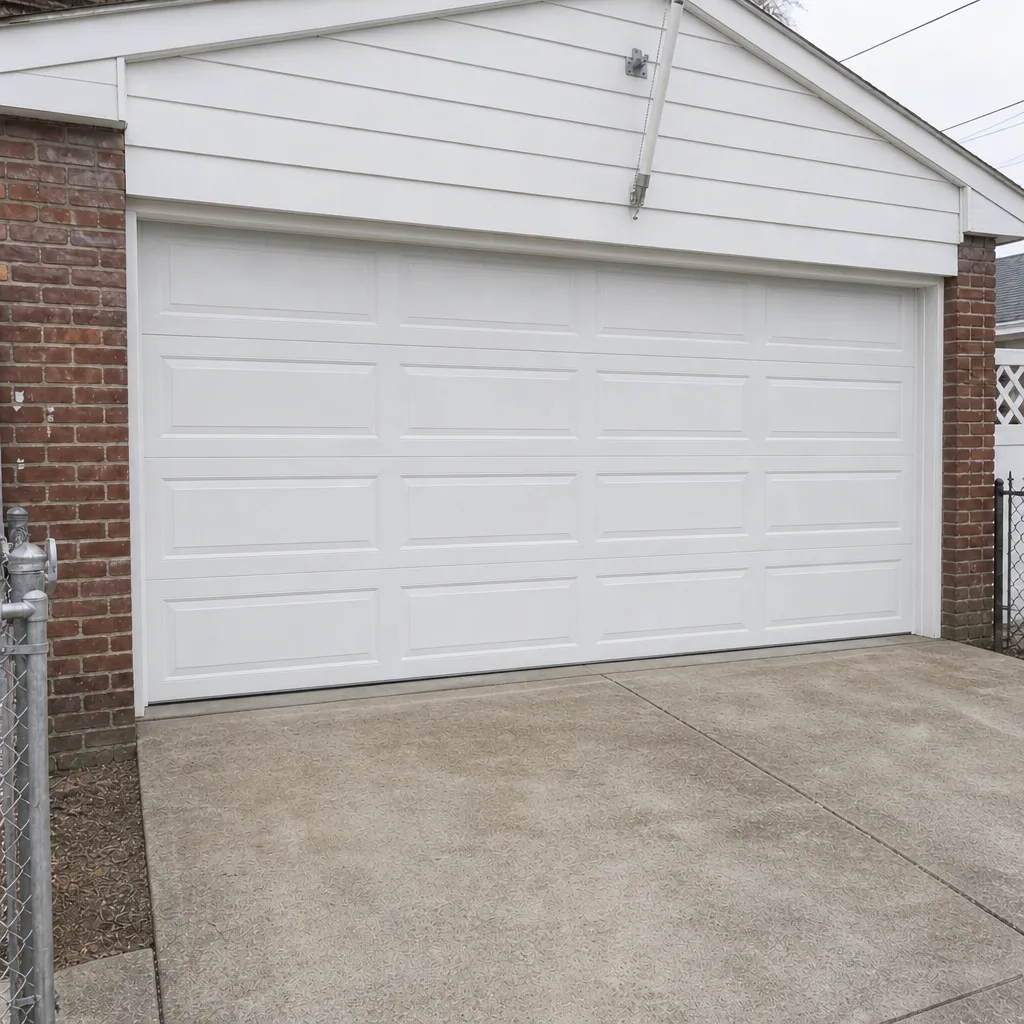 After
When to Call a Professional
Most maintenance tasks on this checklist are safe for a homeowner to handle. The line is clear: anything involving springs, cables, or the inside of the opener is a technician’s job. Beyond that, call a professional if you see a gap in a torsion spring, if the door doesn’t reverse on the 2×4 test, if the door feels heavy or drops when you lift it by hand, if the photo-eye lights won’t stop blinking, if the opener strains or stops mid-travel, or if a cable looks frayed or slack. Those are all signs that a repair is needed before something fails. Paterson Garage Door Repair offers free estimates in Paterson, and we’ll tell you honestly whether a repair or replacement makes sense. Call (866) 937-7714. We answer 24/7. Fast dispatch from 7am to 7pm, Sunday through Friday.
Frequently Asked Questions
Do the monthly visual walk-around and safety test every month, and the lubrication checklist twice a year, in spring and fall. Paterson’s humidity in summer and freeze-thaw cycles in winter stress doors more than a mild climate would, so the seasonal timing matters. If your door is older or you’re not sure of its service history, start with a full professional inspection and build the monthly habit from there.
Torsion springs sit horizontally above the door on a metal shaft; extension springs run alongside the tracks. The inspection steps differ completely: torsion springs fail with a visible gap in the coil, while extension springs fail by stretching and need a safety cable through the center. Knowing which you have tells you what to watch for and how urgently to act. Either way, don’t attempt adjustments yourself. Call (866) 937-7714 for a free estimate if you’re not sure what you’re looking at.
Yes, lubrication is genuinely owner-safe. Use silicone-based spray or white lithium grease on rollers, hinges, spring coils, and the opener chain (if chain-drive). Don’t use WD-40, and don’t grease the tracks. Lubricate twice a year, especially before summer humidity sets in and before winter cold. If a door still squeaks after lubrication, the noise usually means a worn part needs replacing, not more grease.
Place a 2×4 flat on the floor under the closed door and press the wall control to close. The door should reverse within a couple of seconds of contacting the board. Test the photo-eyes by waving an object across the beam while the door is closing; it should reverse or stop. If either test fails, stop using the opener and call (866) 937-7714. We test auto-reverse on all eight major brands we work on.
Look for a flattened bottom seal, daylight visible around the closed door, gaps at the corners where the bottom seal meets the side jambs, cracked or peeling side seals, or water staining inside the door. Any of these means the seal is letting humidity and air in, which speeds corrosion on springs and cables and raises energy costs. Replacing weatherstripping is owner-safe; removing the bottom bracket to fit a new seal is not.
Adjusting spring tension, replacing springs, removing or replacing cables, and opening the opener motor housing all risk voiding manufacturer warranties on most brands. Lubrication, safety testing, weatherstripping replacement, and remote battery changes are generally fine. If you’re not sure about a specific task, ask before you do it. Call (866) 937-7714 for a free estimate and we’ll tell you what’s owner-safe and what isn’t.
The Bottom Line
A garage door maintenance checklist is only useful if it matches your door. Identify your spring type, know your opener brand, and time your checks to Paterson’s seasons. The monthly walk-around and safety test catch developing problems; twice-yearly lubrication prevents most of the failures we see; and knowing the line between owner-safe and technician-only tasks keeps you safe and your warranty intact. Springs and cables are always a professional job. Everything else you can do yourself, and it’s worth doing. When something looks wrong, call before you run the door.
If your door is showing any of the warning signs in this guide, call Paterson Garage Door Repair at (866) 937-7714 for a free estimate. We answer 24/7. Fast dispatch from 7am to 7pm, Sunday through Friday. We work on the brand already in your garage, so the diagnosis is faster and the recommendation is based on what your system actually needs. Garage doors are all we do.
Written by the team at Paterson Garage Door Repair.